
Introduction
Quickstart
Go from an empty organization to a certificate on a device in four steps.
Create a root CA, an issuing CA, and an enrollment endpoint.
Complete first-run setup using the one-time setup URL printed by your SimpleSCEP deployment. The first user is an administrator.
1. Configure your Root CA
Open Certificate Authorities.
Click Configure Root CA.
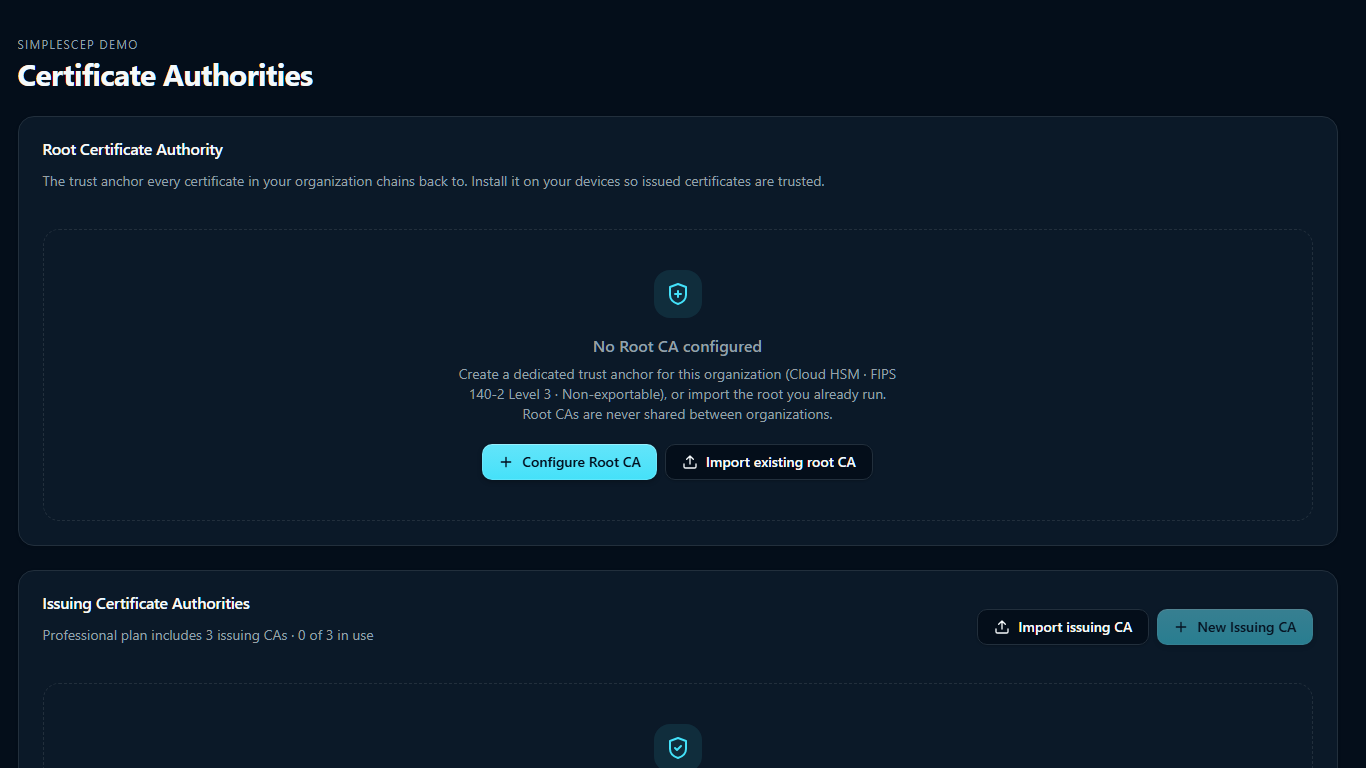
Only administrators can create the root CA.
The Configure your Root CA dialog asks for:
| Field | Notes |
|---|---|
| CA name | Label shown in the console. Not part of the certificate |
| Common name (CN) | The name shown in trust stores |
| Organization (O), Country (C), State / Province (ST) | Required. Country is a two-letter code |
| Organizational unit (OU), Locality (L) | Optional |
| Key algorithm | ECDSA P-256 (recommended), ECDSA P-384, RSA 3072, or RSA 4096 |
| Key protection | Software or HSM. HSM requires supported HSM-capable KMS infrastructure |
| Validity (years) | Defaults to 10. Up to 30 |
| Path length (max subordinate CA depth) | Defaults to 1, allowing issuing CAs but no lower-level CAs |
| Extended Key Usages (EKU) | Select every usage the hierarchy will need. Client auth is selected by default. Custom OIDs are supported |
Finish with Create CA.
Issuing CAs can only use EKUs selected on the root. Adding an EKU later requires a new root.
A root is created once, signs only issuing CAs, and is the certificate you distribute to devices.
To keep an existing trust hierarchy with Google Cloud KMS, use Import your own CA. See Importing your own CA. Azure Key Vault import is not supported in this release.
2. Create the issuing CA
In Issuing Certificate Authorities, click Create issuing CA.
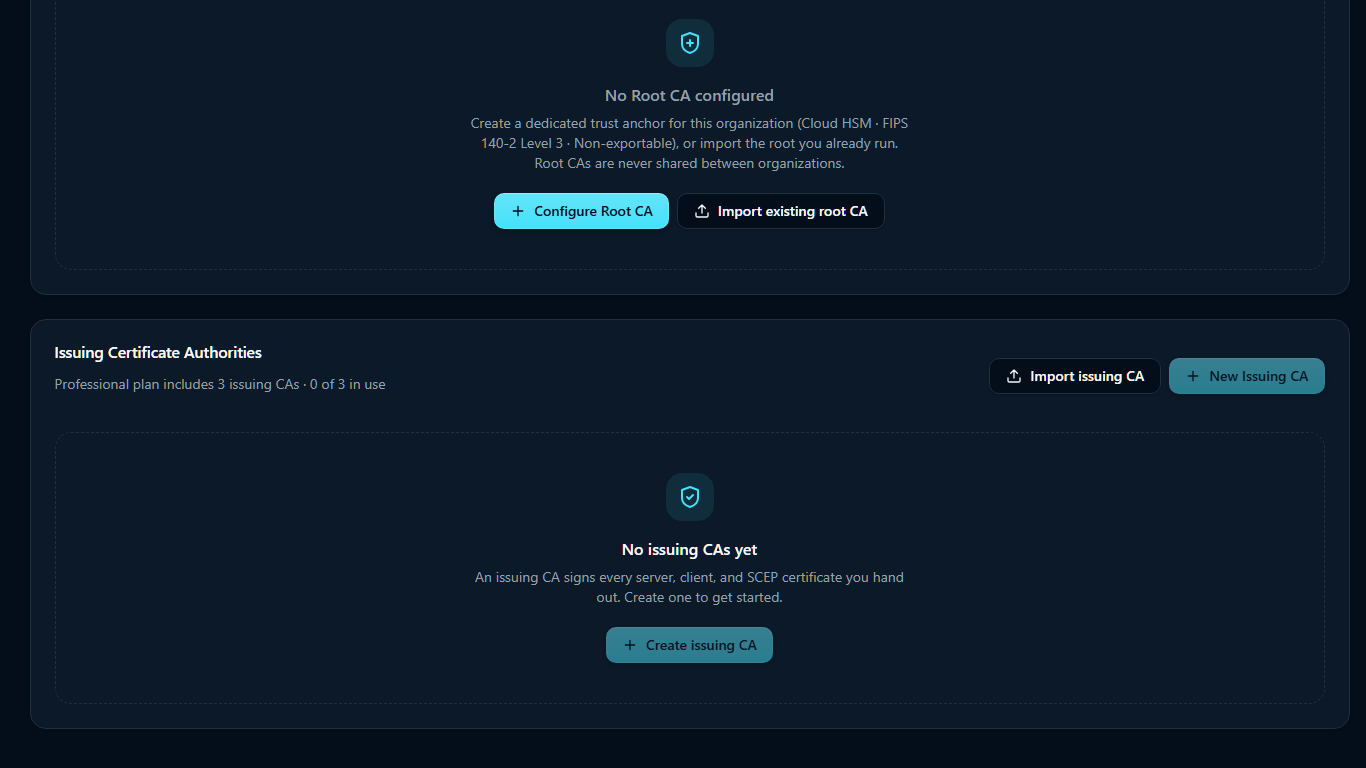
The issuing CA form differs from the root form:
- a Parent Root CA picker, listing your active root;
- Validity (years) defaults to 5 rather than 10;
- the EKU checkboxes are limited to the usages the root carries, and there is no custom-OID field.
There is no path-length field. If the button is disabled, hover over it for the reason.
The root stays out of the issuance path — every certificate is signed by an issuing CA.
3. Turn on an enrollment endpoint
Open SCEP · ACME · EST and select a protocol.
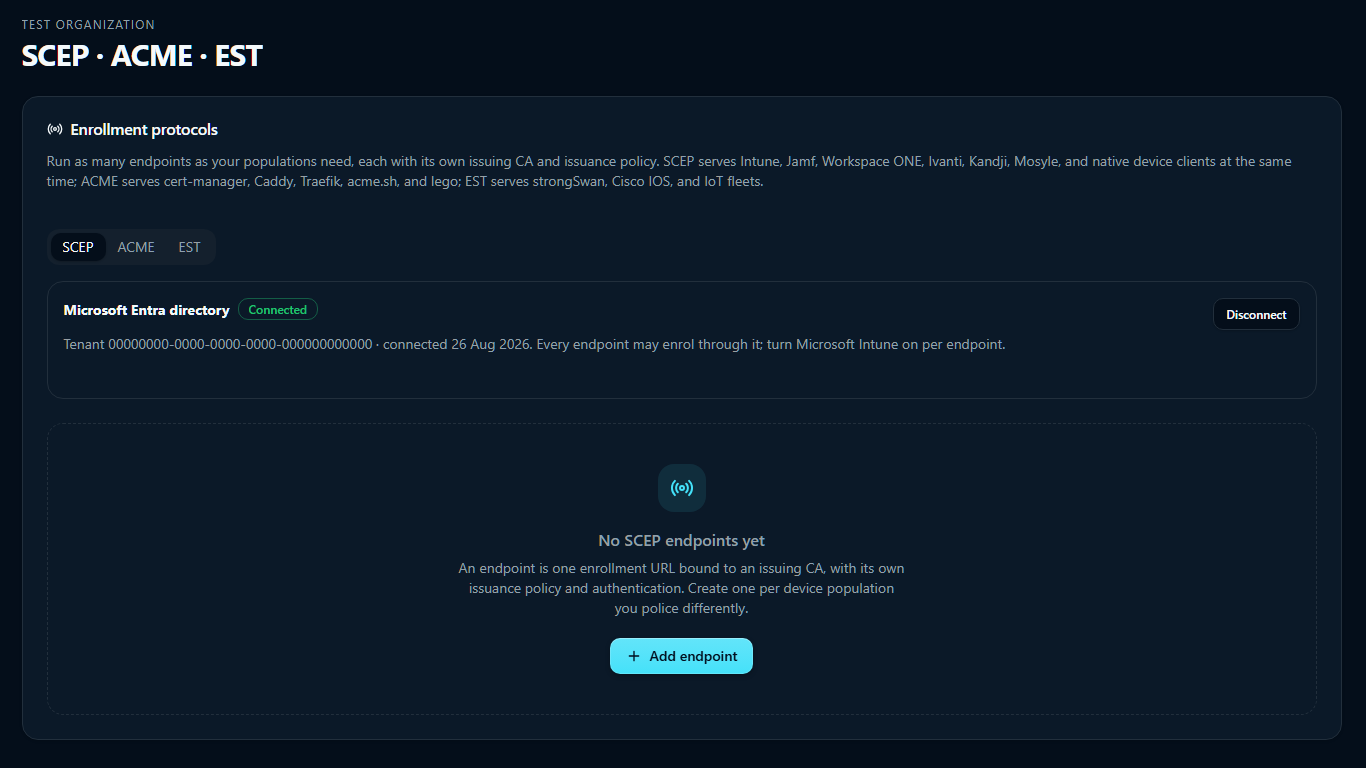
Click Add endpoint and enter:
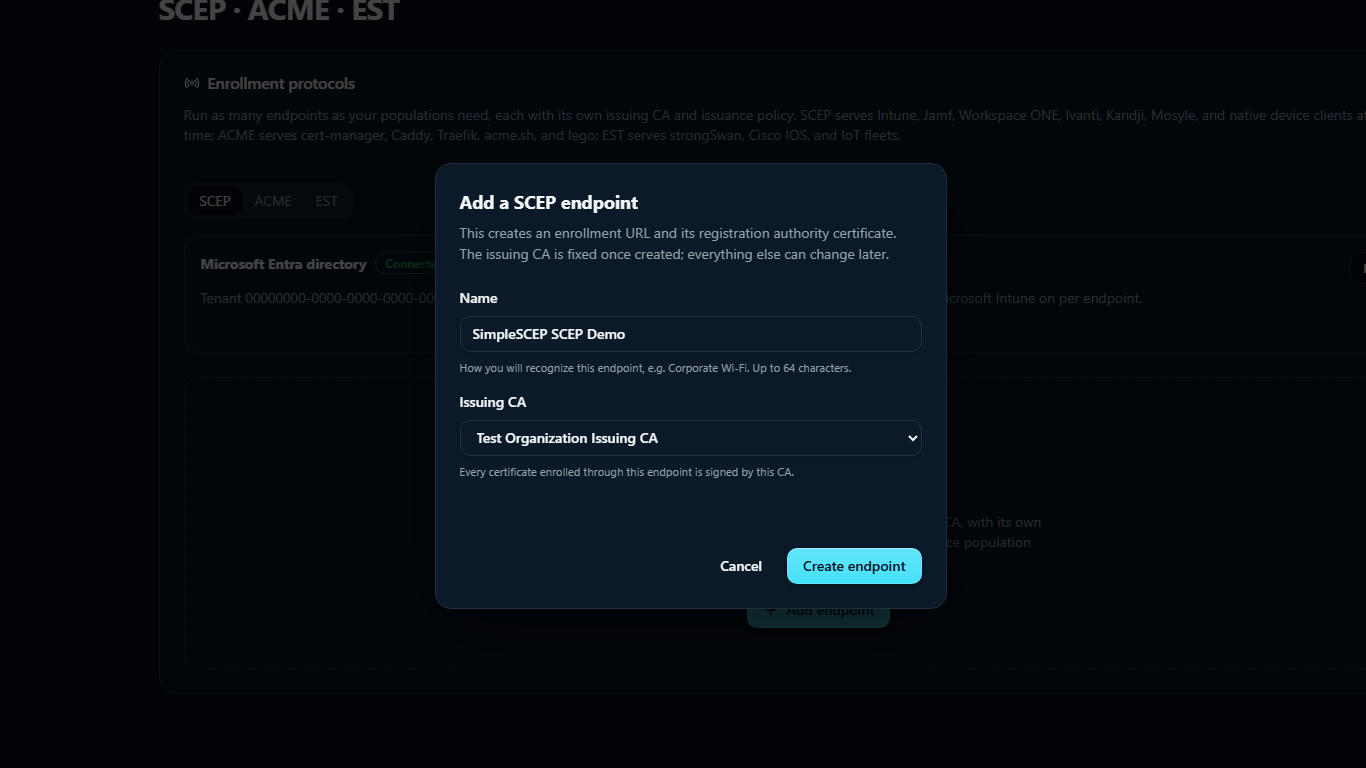
- Name — up to 64 characters. Renaming it does not change the URL.
- Issuing CA — permanent. Everything else about the endpoint can change.
Finish with Create endpoint. For SCEP this also mints the endpoint's registration authority keypair.
A new endpoint starts Off. Configure authentication, then turn on Accepting enrollments.
| Protocol | Configure |
|---|---|
| SCEP | Under Enrollment authentication: one-time challenges, a shared secret, Microsoft Intune, or Jamf Pro. See SCEP challenges and secrets |
| ACME | Under External account credentials: Mint credential. See ACME |
| EST | Under Enrollment credentials: Mint credential. See EST |
A SCEP endpoint cannot be turned on until at least one authentication method is configured and on.
Use Edit on the Issuance policy card to change the endpoint name and policy.
4. Distribute trust, then enroll
Devices must trust your root before they are pointed at the endpoint.
- SCEP: download CA bundle beside the endpoint URL.
- ACME and EST: open the root on the Certificate Authorities page and select Download certificate.
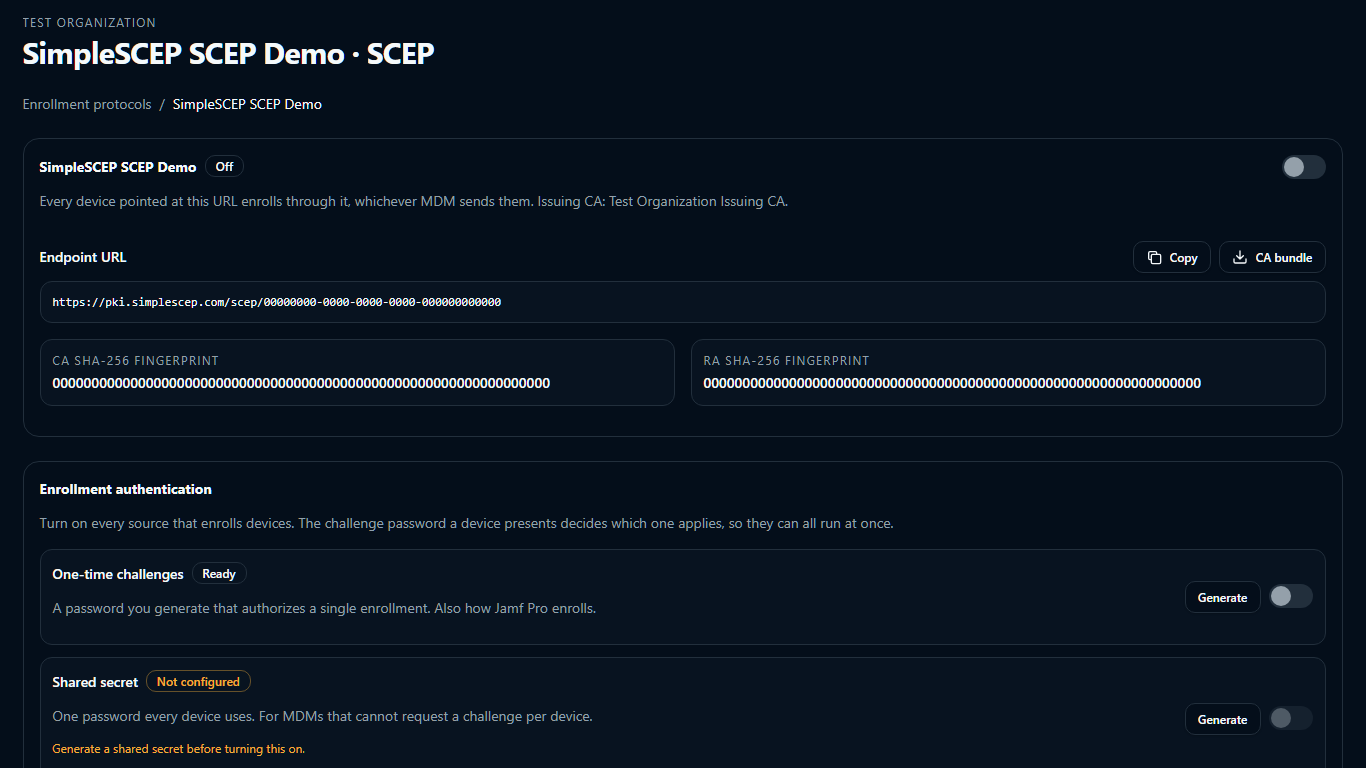
Then configure the client with the endpoint URL:
SCEP    https://pki.example.com/scep/<endpoint-id>
ACME    https://pki.example.com/acme/<endpoint-id>/directory
EST     https://pki.example.com/.well-known/est/<endpoint-id>
The endpoint ID is the UUID shown on the endpoint page. Renaming an endpoint does not change its URL.
Test issuance
Before deploying to a fleet, issue one certificate from Certificates. Choose Server, Client, or Submit CSR.
An action is disabled when no active issuing CA permits it; the tooltip names the missing usage, for example "No active issuing CA allows client certificates (client_auth)".
Use it to test issuance and revocation. See Issuing certificates.
Invite your team
On Users, select Invite member. See Users and roles and Two-factor authentication.